0x00 Preface
---
Confluence is a professional enterprise knowledge management and collaboration software, which can also be used to build enterprise wikis.
Recently, the vulnerability CVE-2021-26084 - Confluence Server Webwork OGNL injection was disclosed. This article only introduces relevant knowledge of Confluence from a technical research perspective.
0x01 Introduction
---
- Confluence Environment Setup
- Exploitation Approach
0x02 Confluence Environment Setup
---
References for environment setup:
Windows:
https://confluence.atlassian.com/doc/installing-confluence-on-windows-255362047.html
Linux:
https://confluence.atlassian.com/doc/installing-confluence-on-linux-143556824.html
This article uses CentOS 7 to set up Confluence as an example for introduction.
1. Configure the database
PostgreSQL is chosen here. Installation reference materials:
https://confluence.atlassian.com/doc/database-setup-for-postgresql-173244522.html
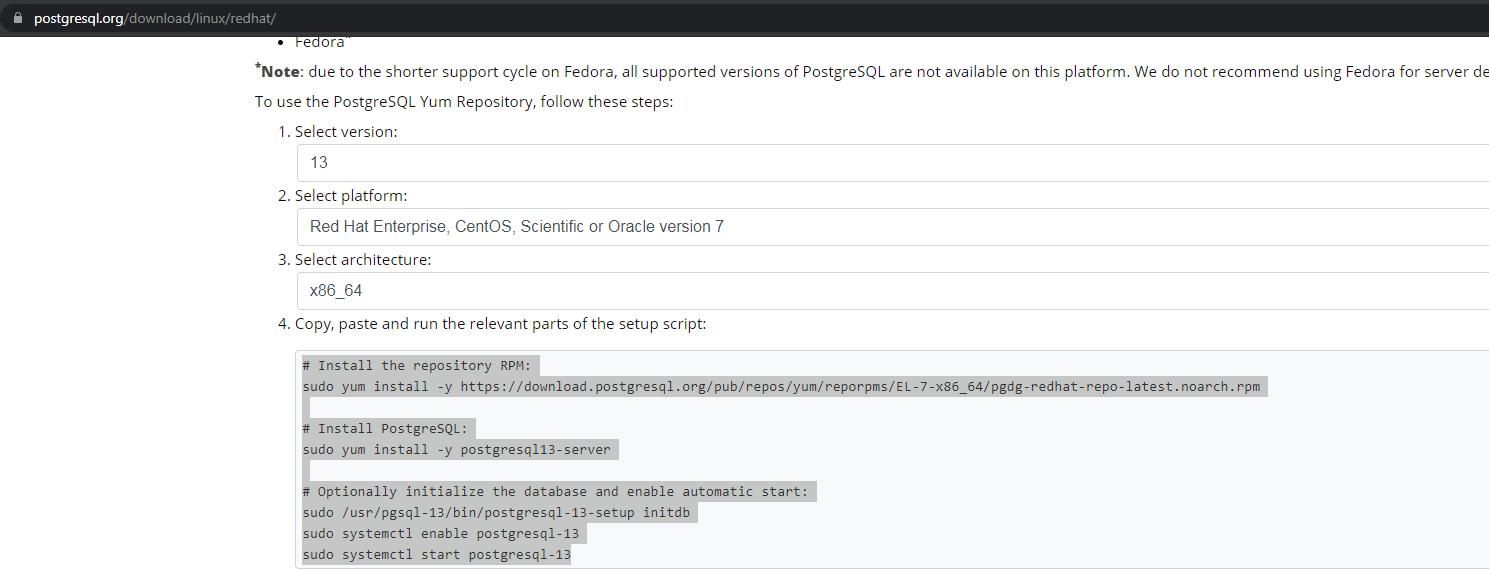
(1) Install PostgreSQL
Visit the address: https://www.postgresql.org/download/linux/redhat/
Obtain the installation command, as shown in the figure below
After installation is complete, check the running status:
systemctl status postgresql-13 |
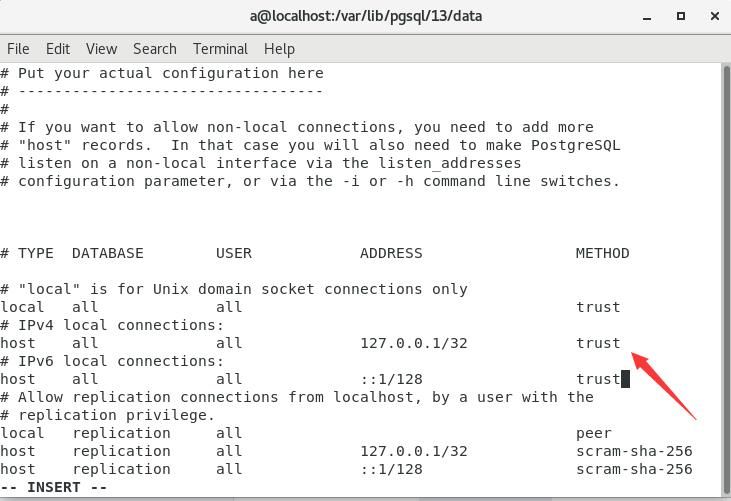
(2) Configure PostgreSQL
Set to allow other programs to access the database:
Modify /var/lib/pgsql/13/data/pg_hba.conf
Change METHOD to trust, set as shown in the figure below
Restart PostgreSQL:
systemctl restart postgresql-13 |
Note: Configure to allow other IPs to access the database
Modify /var/lib/pgsql/13/data/pg_hba.conf
Change ADDRESS to 0.0.0.0/0, as shown below

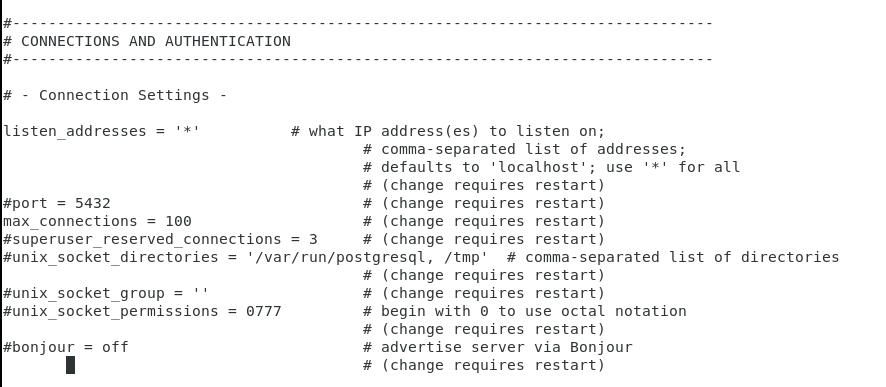
Modify /var/lib/pgsql/13/data/postgresql.conf
Set listen_addresses = '*', as shown below
Restart PostgreSQL:
systemctl restart postgresql-13 |
(3) Database Operations
After PostgreSQL installation, a user named postgres is created on the local operating system with no default password
Switch to user postgres:
su postgres |
Enter PostgreSQL:
bash-4.2$ psql |
Set password for user postgres:
postgres=# \password postgres |
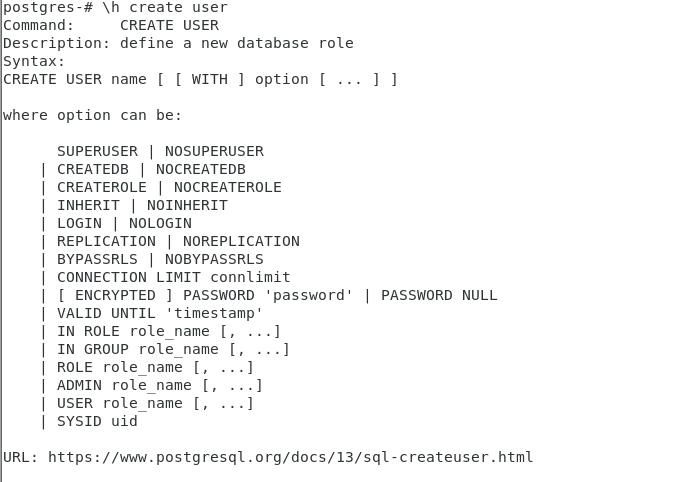
View command description for creating user:
postgres-# \h create user |
As shown below
Create user confluence:
postgres-# create user confluenceuser with password 'confluenceuser' createdb login; |
Parameter description:
- createdb: Has permission to create databases
- login: Has login permission
Create database confluence:
postgres-# create database confluence with owner=confluenceuser encoding='UTF8'; |
Parameter description:
- encoding: The specified encoding must be utf8
Test user login:
[user@localhost ~]$ psql -h localhost -p 5432 -d confluence -U confluenceuser |
2. Install Confluence
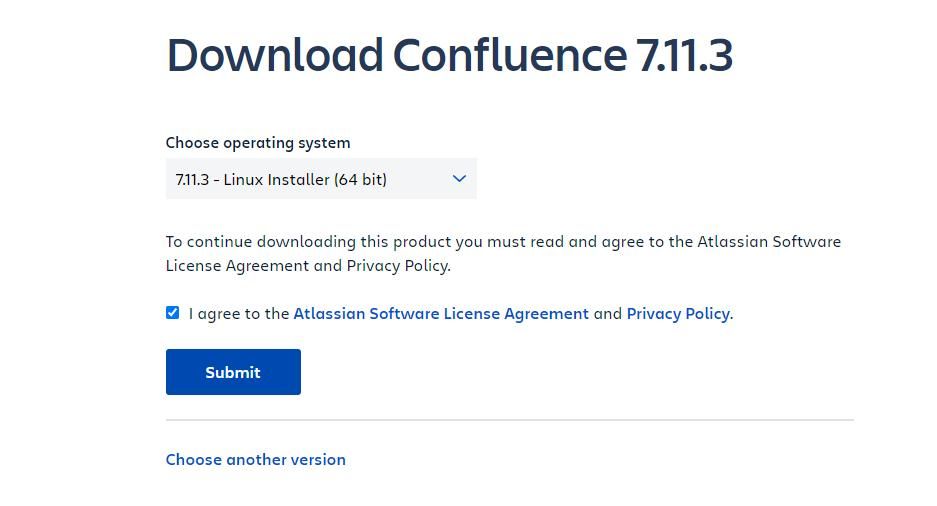
Download address: https://www.atlassian.com/software/confluence/download-archives
Select a version 7.11.3
When downloading, choose 7.11.3 - Linux Installer (64 bit), as shown in the figure below
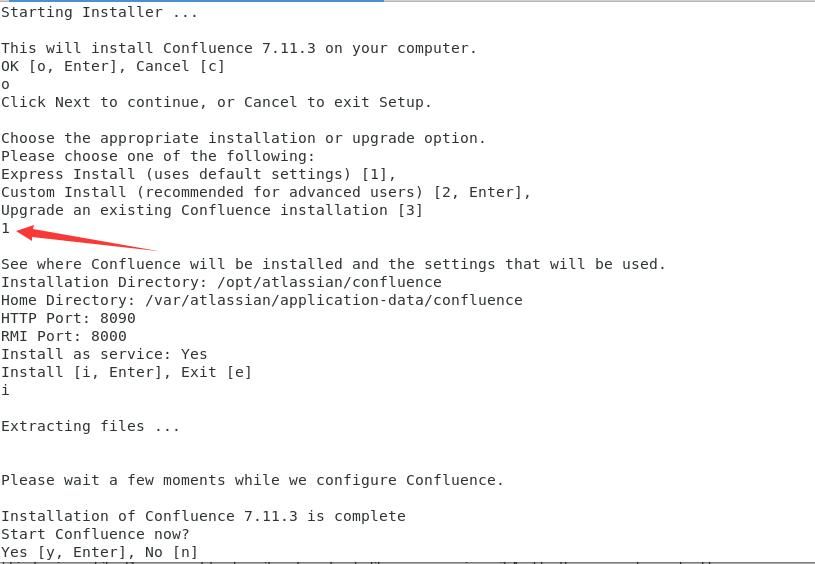
Execute the installation command:
[root@localhost ~]$ ./atlassian-confluence-7.11.3-x64.bin |
During the installation process, select Express Install (uses default settings) [1], as shown in the figure below
After installation, use a browser to access http://localhost:8090
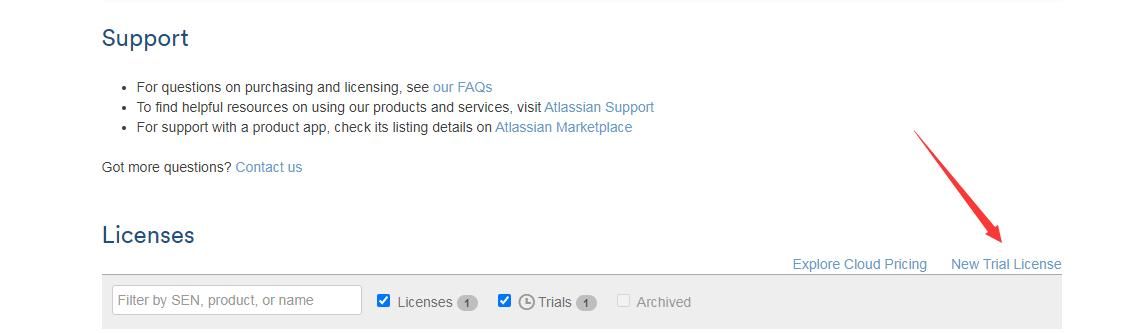
When setting up the Confluence page, you need to fill in the license, which can be obtained by visiting https://my.atlassian.com/license/evaluation, as shown in the figure below
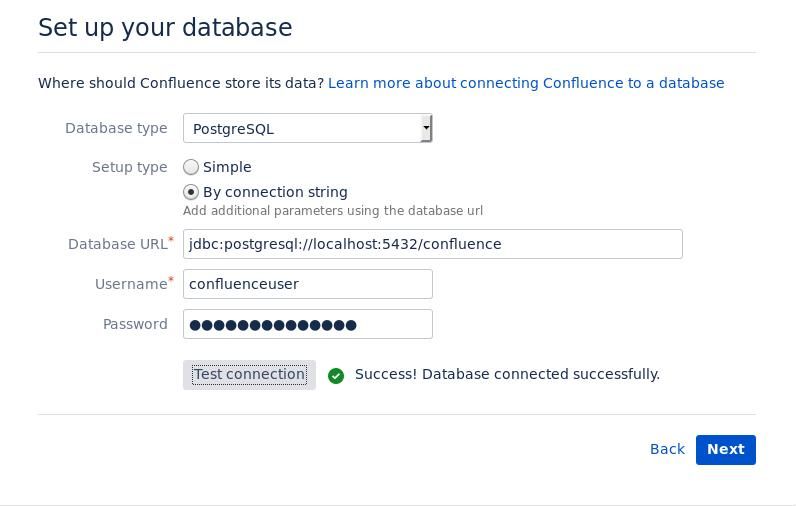
Enter the database settings page and configure as shown in the figure below
Next, set up the content, manage users, and administrator account pages in sequence
The final success page is shown in the figure below
Access the login page: http://localhost:8090/welcome.action, as shown in the figure below
3. Create a Confluence regular user
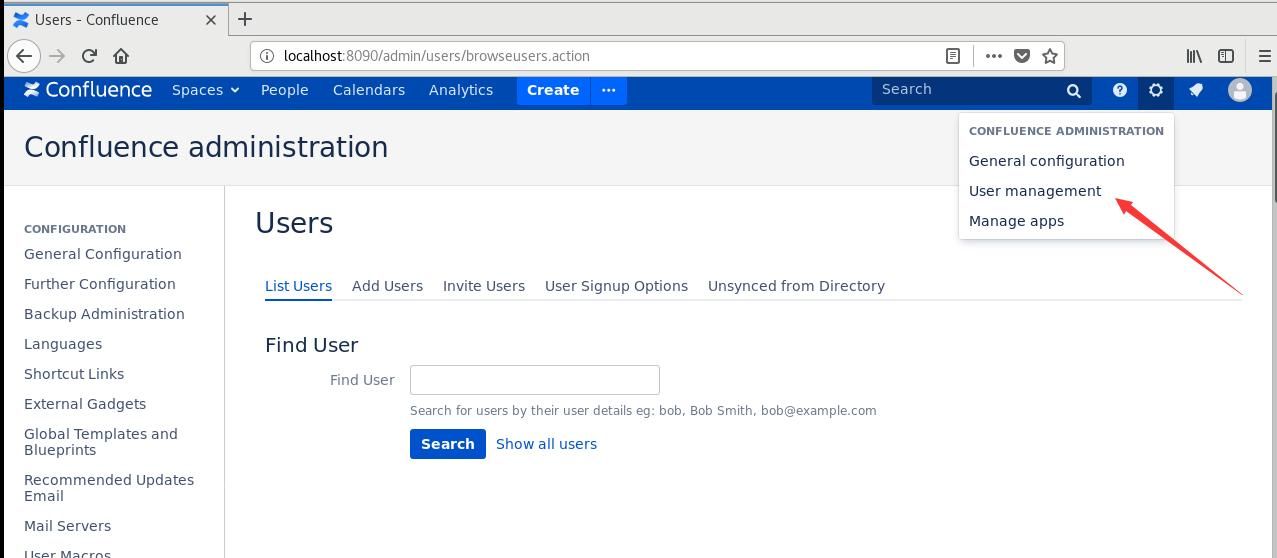
After logging in with the administrator account, select User management for user configuration, as shown in the figure below
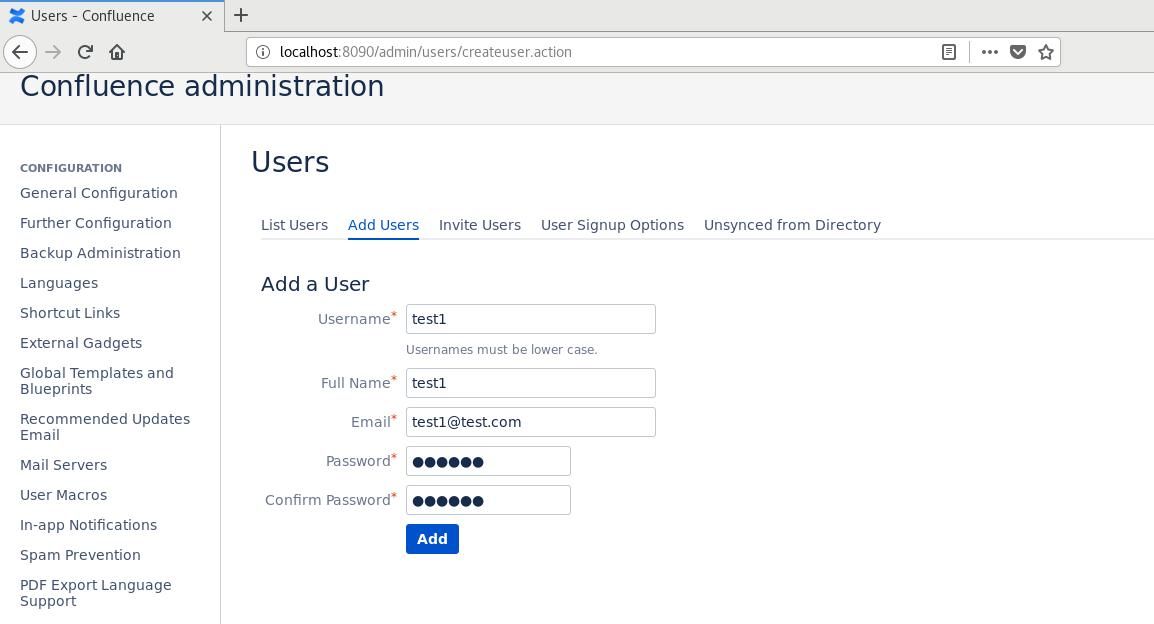
Add user test1 and configure as shown in the figure below
Note:
Administrator accounts correspond to the following two groups:
- confluence-administrators
- confluence-users
After adding users, you can access http://localhost:8090/ to log in
0x03 Basic Knowledge
---
1. File Directory
Reference materials:
https://www.cwiki.us/display/CONF6ZH/Confluence+Home+and+other+important+directories
(1)
Installation directory, used to store system files
Default installation location:
- Windows: C:/Program Files/Atlassian/Confluence/
- Linux: /opt/atlassian/confluence/
(2)
Data directory, used for storing data
Default installation location:
- Windows: C:/Program Files/Atlassian/Application Data/Confluence/
- Linux: /var/atlassian/application-data/confluence/
Connection between the two:
The location of is defined in the /confluence/WEB-INF/classes/confluence-init.properties file
2. Database information
Location storing database configuration information: /confluence.cfg.xml
3. User information
User information is located in the Confluence database
Table storing user information: CWD_USER, specific column names are as follows:
- user_name: Username
- active: Whether enabled
- email_address: Email address
- credential: User credentials
- directory_id: User group, representing user permissions
The specific user group name corresponding to directory_id can be viewed in the following ways:
- Query the group_name column in the cwd_group table; the value for the administrator user group is confluence-administrators
- Query the directory_name column in the cwd_directory table; the value for the administrator user group is Confluence Internal Directory
SQL command to directly filter out administrator users:
confluence=> select u.id,u.user_name,u.active,u.credential from cwd_user u join cwd_membership m on u.id=m.child_user_id join cwd_group g on m.parent_id=g.id join cwd_directory d on d.id=g.directory_id where g.group_name = 'confluence-administrators' and d.directory_name='Confluence Internal Directory'; |
The execution result is shown in the figure below

4. Log file location
/logs/
5. Web path
/confluence/
Windows: Confluence default permission is network service, which has write permission
Linux: Confluence default permission is confluence, which does not have write permission
0x04 Exploitation approach
---
1. Modify the database to implement user login
(1) Modify user login credentials
Usage example:
View key user information with the following command:
confluence=> select id,user_name,credential from cwd_user; |
Execution result as shown in the figure below

Modify the credentials for user test2 with the following command:
confluence=> UPDATE cwd_user SET credential= '{PKCS5S2}UokaJs5wj02LBUJABpGmkxvCX0q+IbTdaUfxy1M9tVOeI38j95MRrVxWjNCu6gsm' WHERE id = 458755; |
Confirm the database has been modified, as shown in the figure below

Note:
{PKCS5S2}UokaJs5wj02LBUJABpGmkxvCX0q+IbTdaUfxy1M9tVOeI38j95MRrVxWjNCu6gsm corresponds to the plaintext password 123456
(2) Modify Personal Access Tokens
Personal Access Tokens enable passwordless login.
Reference materials:
https://confluence.atlassian.com/bitbucketserver0610/personal-access-tokens-989761177.html
https://developer.atlassian.com/server/confluence/confluence-server-rest-api/
https://docs.atlassian.com/ConfluenceServer/rest/7.11.6/
Usage example:
In the test environment, the Personal Access Tokens table is AO_81F455_PERSONAL_TOKEN.
Query statement:
confluence=> select * from "AO_81F455_PERSONAL_TOKEN"; |
To modify Personal Access Tokens, use the following command:
confluence=> UPDATE "AO_81F455_PERSONAL_TOKEN" SET "HASHED_TOKEN"= '{PKCS5S2}Deoq/psifhVO0VE8qhJ6prfgOltOdJkeRH4cIxac9NtoXVodRQJciR95GW37gR7/' WHERE "ID" = 4; |
Note:
{PKCS5S2}Deoq/psifhVO0VE8qhJ6prfgOltOdJkeRH4cIxac9NtoXVodRQJciR95GW37gR7/ corresponds to the token MjE0NTg4NjQ3MTk2OrQ5JtSJgT/rrRBmCY4zu+N+NaWZ
2. Write file
Web path: /confluence/
Windows: Confluence default permissions are network service, with write access.
Linux: Confluence default permissions are confluence, without write access, but memory shell can be attempted.
0x05 Summary
---
This article introduces the fundamental knowledge related to the exploitation of Confluence.